
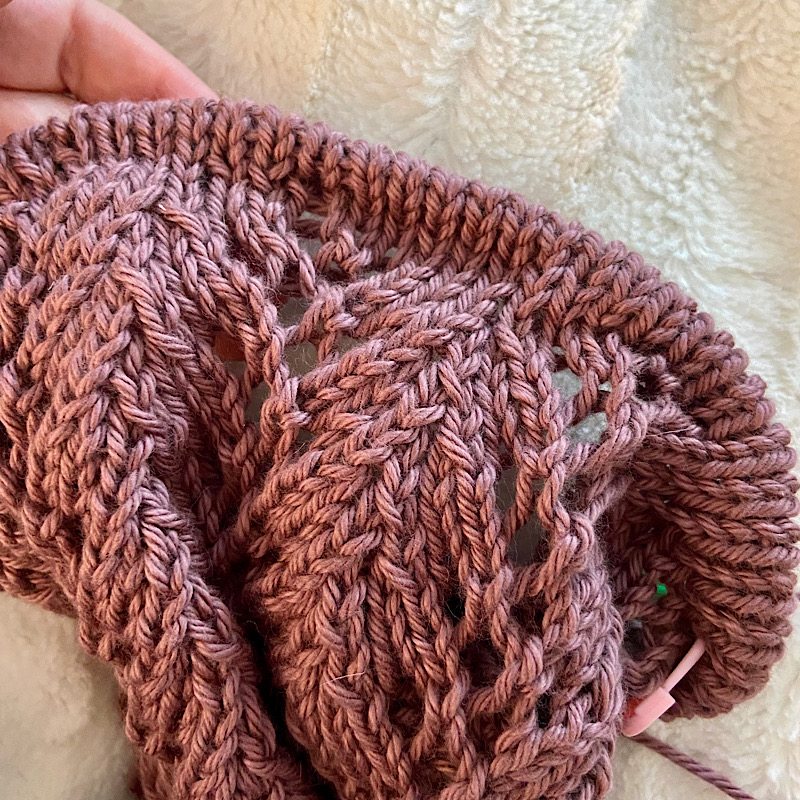
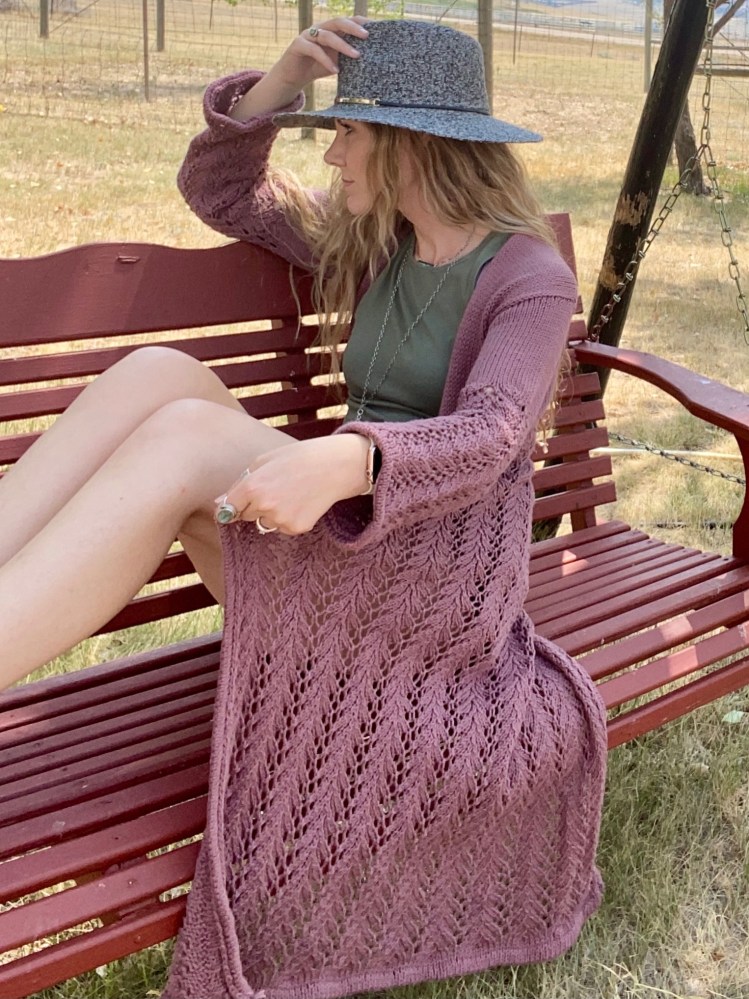
The Silver Spring Duster is a worsted cotton lace cardigan that features vine lace on a long train and slight bell sleeves. The folded edging on the hemline, cuffs and front edging really clean up the edges of this design, and it is squishy and comfortable, too!
Many are familiar with knitting a folded hem, as it is similar to the trending double brim on winter hats. This may be done in a couple of different ways, but I choose to do mine by using a stretchy cast on, knitting rounds/rows of stockinette, folding the wrong sides together, picking up stitches one at time and knitting 2 stitches together. That means lining up the cast on stitch and the live stitch of the same row and knitting them together to one stitch that can continue to be worked. This is great for bottom-up designs. While beginning a garment with a folded hem may need a tutorial, this blog post is going to focus on how to BIND OFF with a folded edge. This is a bit more of a complicated process.
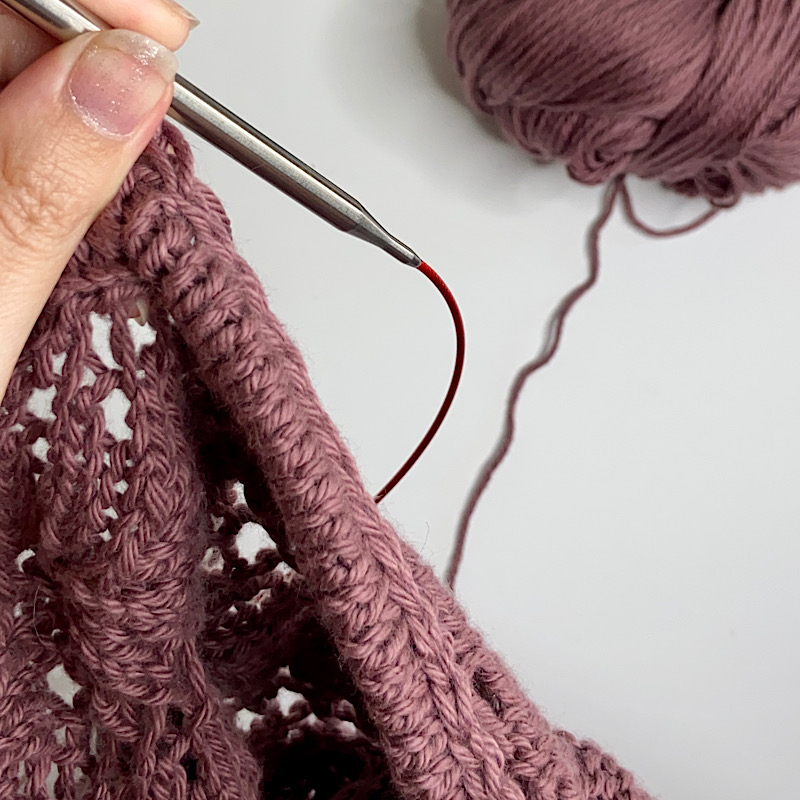
Binding off with a folded edge is a bit tricker to explain. I will list the steps in a photo tutorial below, minus a couple tips and tricks that will make this process easier. The first tip is to include a lifeline in the round/row that begins the edging. Including a lifeline will help find the correct stitch to pick up after the fold. Another tip is to use a removable place marker in the first stitch of the round/row that begins the edging. This will help align the correct stitch rounds/rows to avoid twisting.
If the photos are confusing, please view my YouTube tutorial on this bind-off instead. Or if you’re looking for a quicker, less-explained visual, please see my TikTok video.
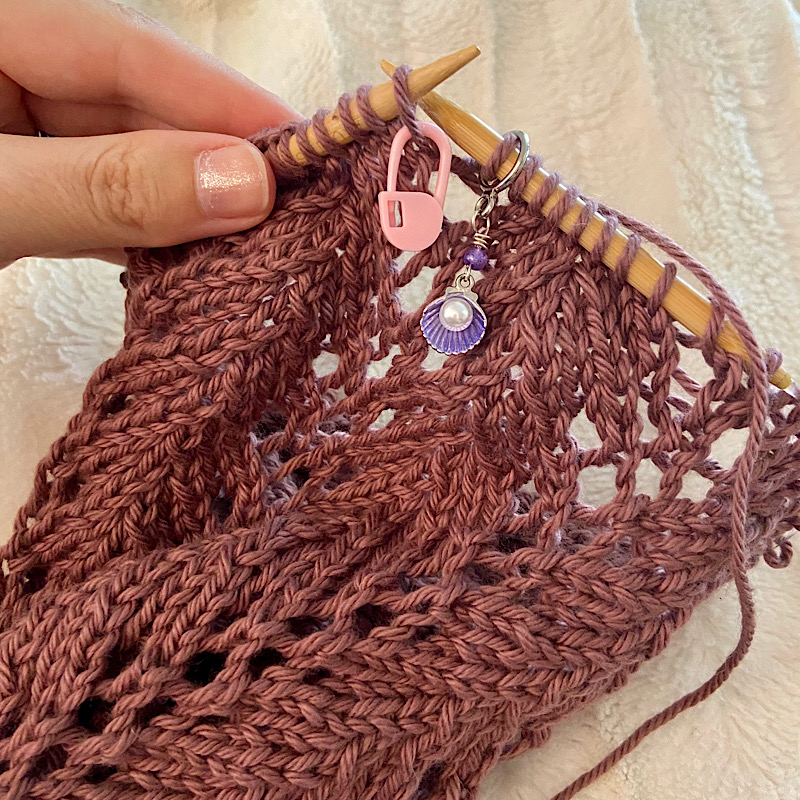
First, place a removable stitch marker in the first stitch of the round/row in which the stockinette folded edging will begin. This is to mark the first stitch that will be picked up for the fold. If adding a lifeline, this will be the round/row to add it.

Next, knit the amount of desired length in stockinette stitch. If knitting flat, end on a purl row.
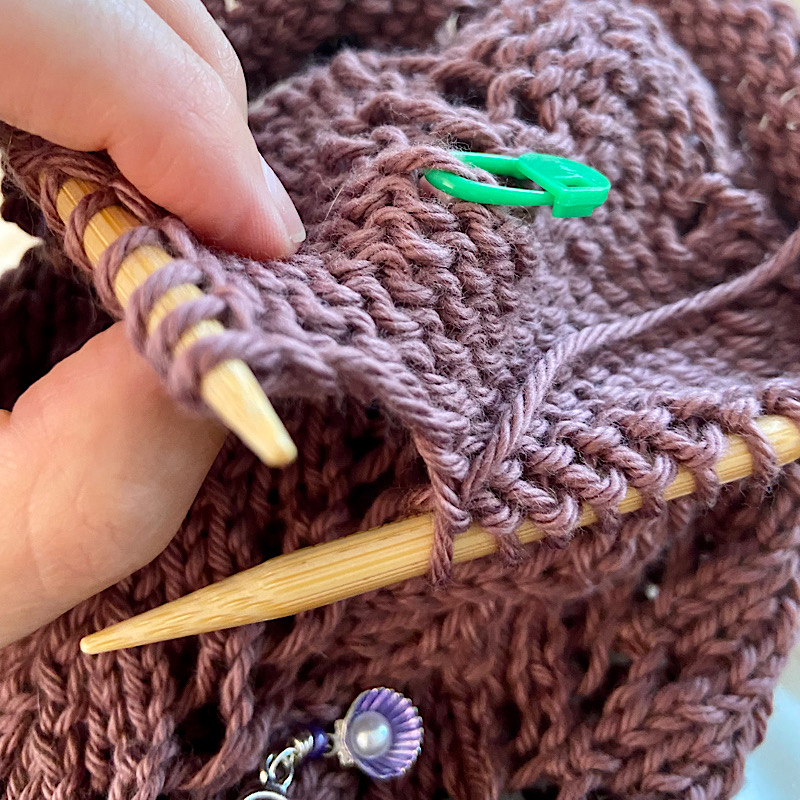
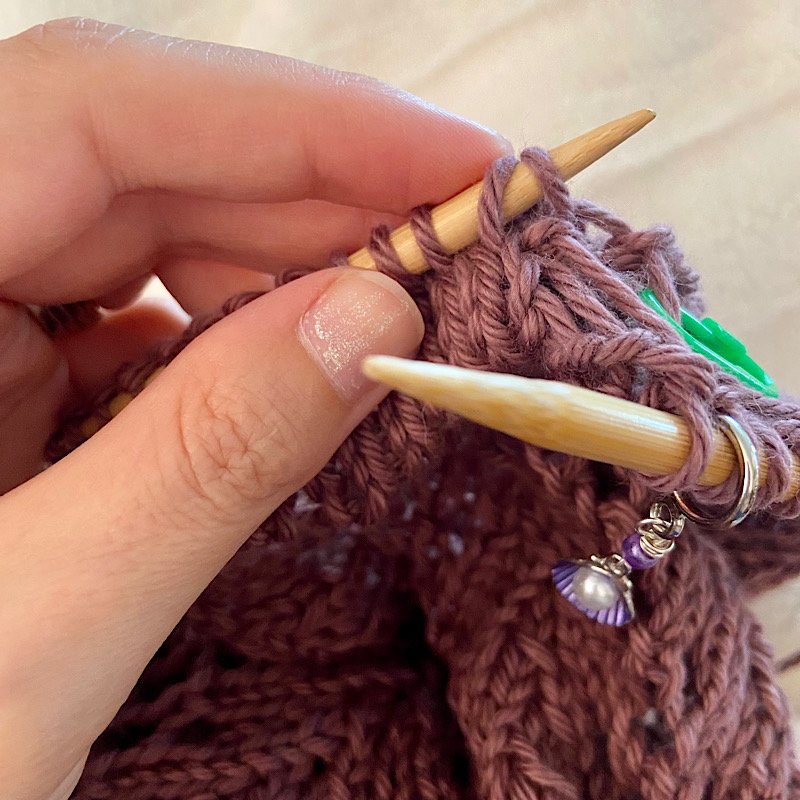
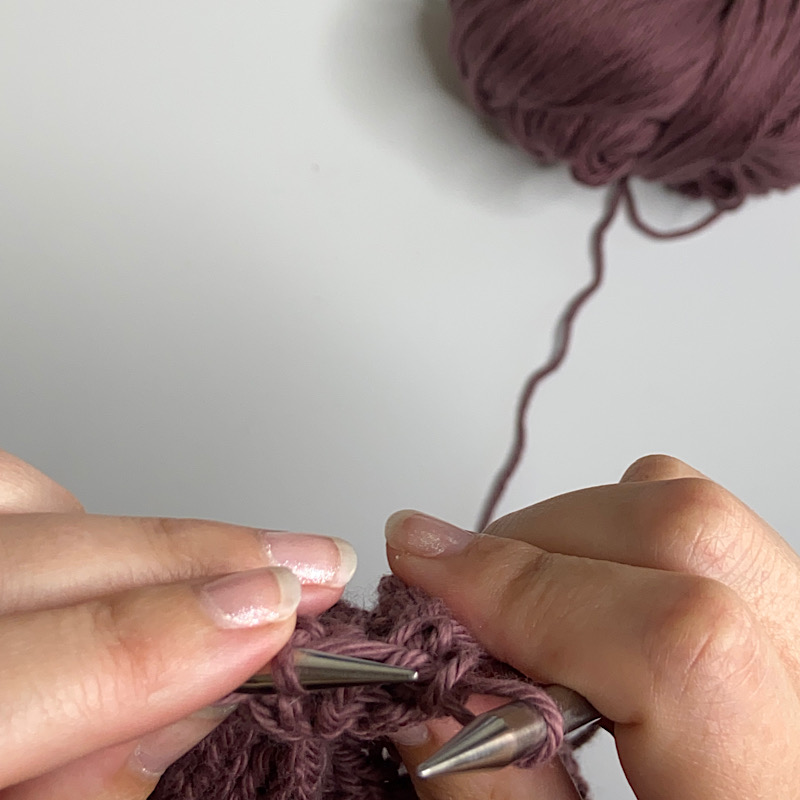
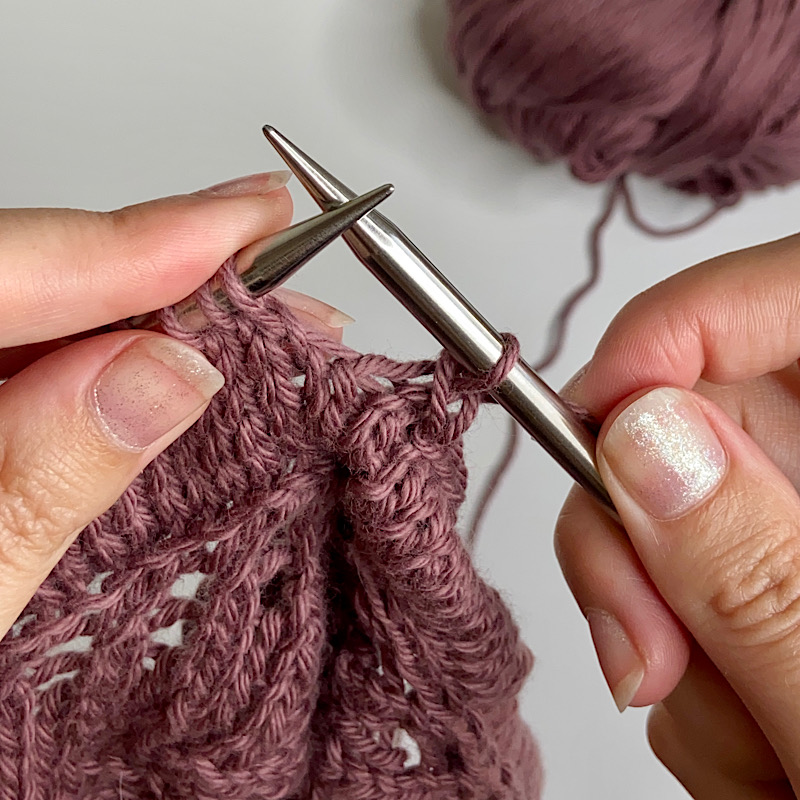
Fold your work so that the wrong sides are facing. Pick up the matching stitch in the bottom or round/row (in the same stitch column, where the stockinette edging begins) with the left hand needle.
Once the bottom stitch is on the front of the left hand needle, knit the first 2 stitches together.
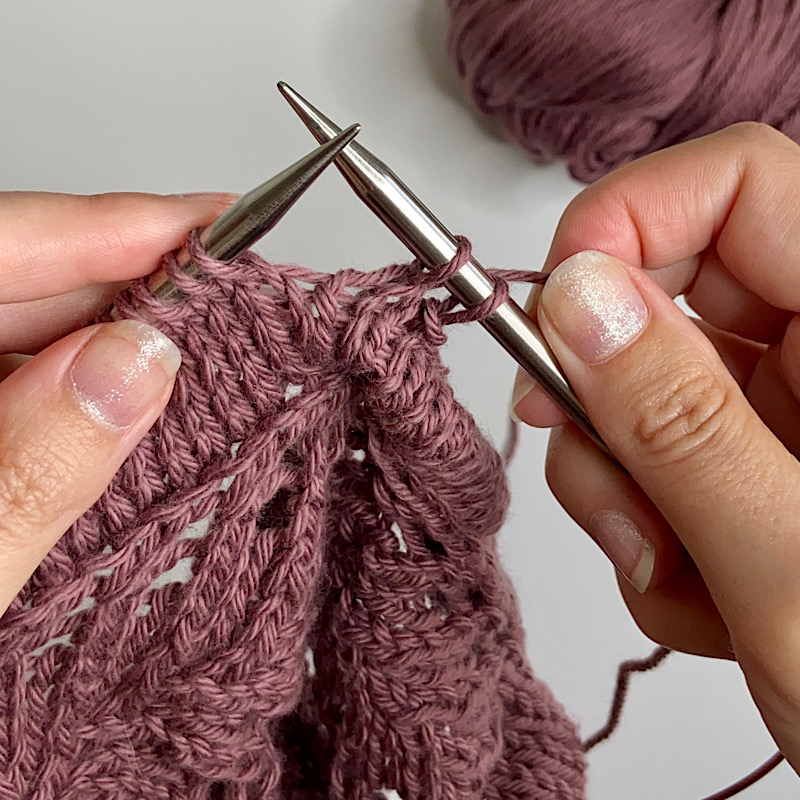
Repeat the above steps 1 time.
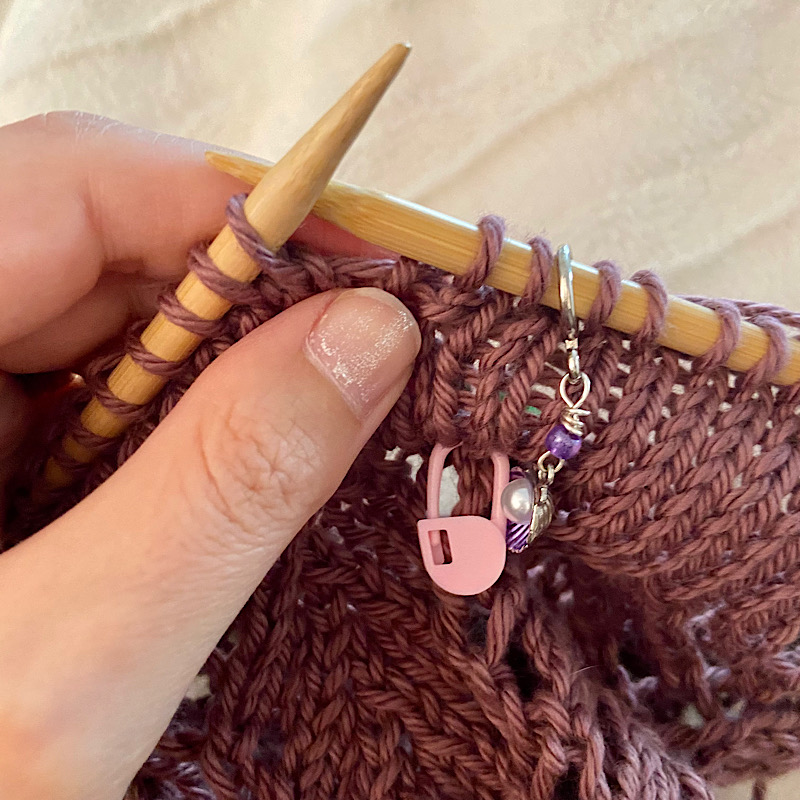
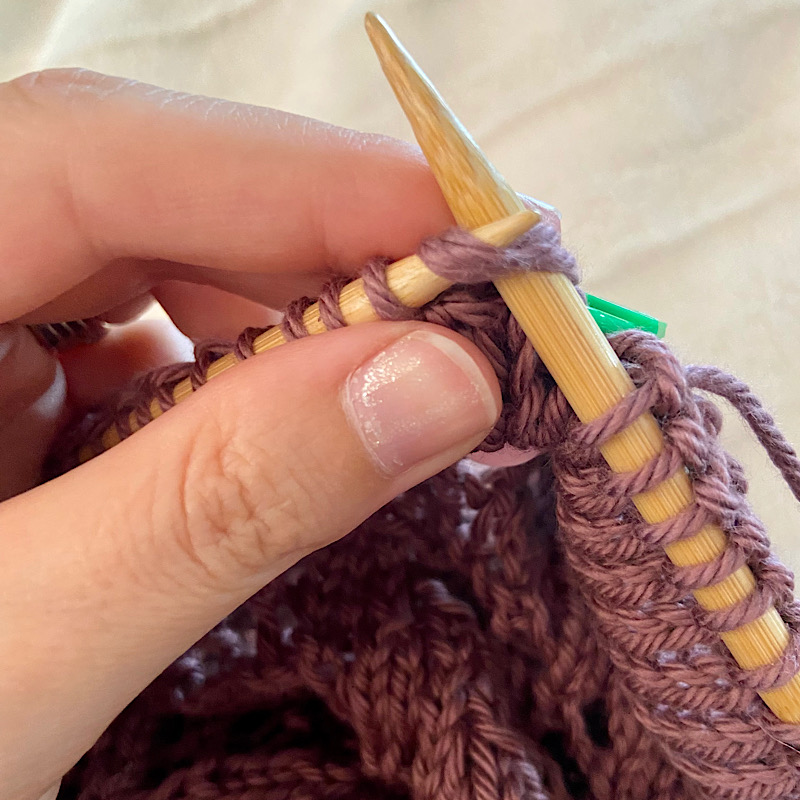
There will be 2 stitches on the right hand hand needle (before the BOR marker, if knitting in the round).

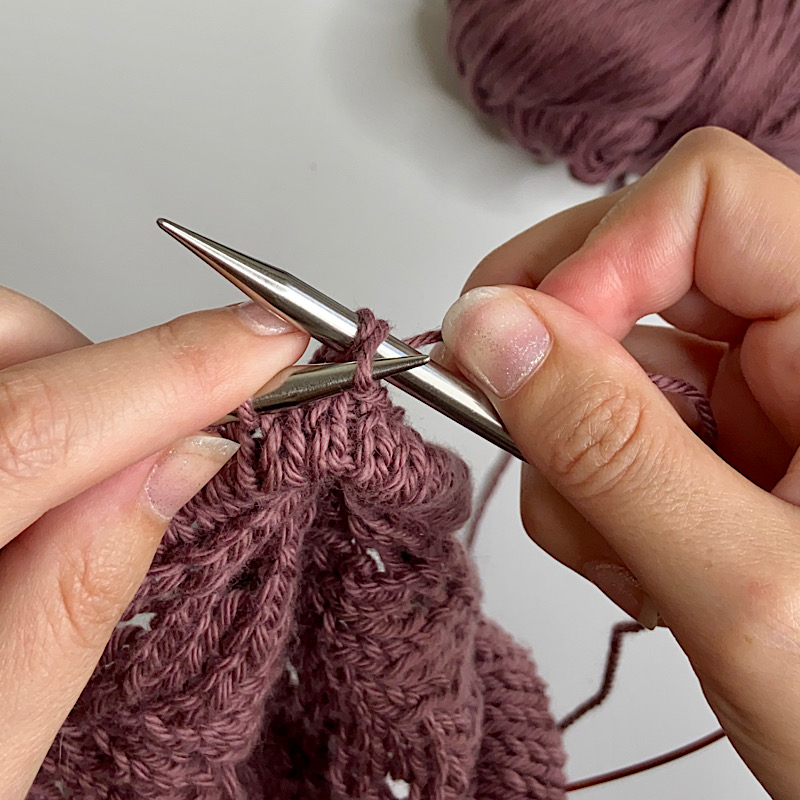
On the right hand needle, slip the further right stitch over the left stitch and off the needle, leaving only 1 stitch on the right hand needle (or before the BOR marker, if knitting in the round).
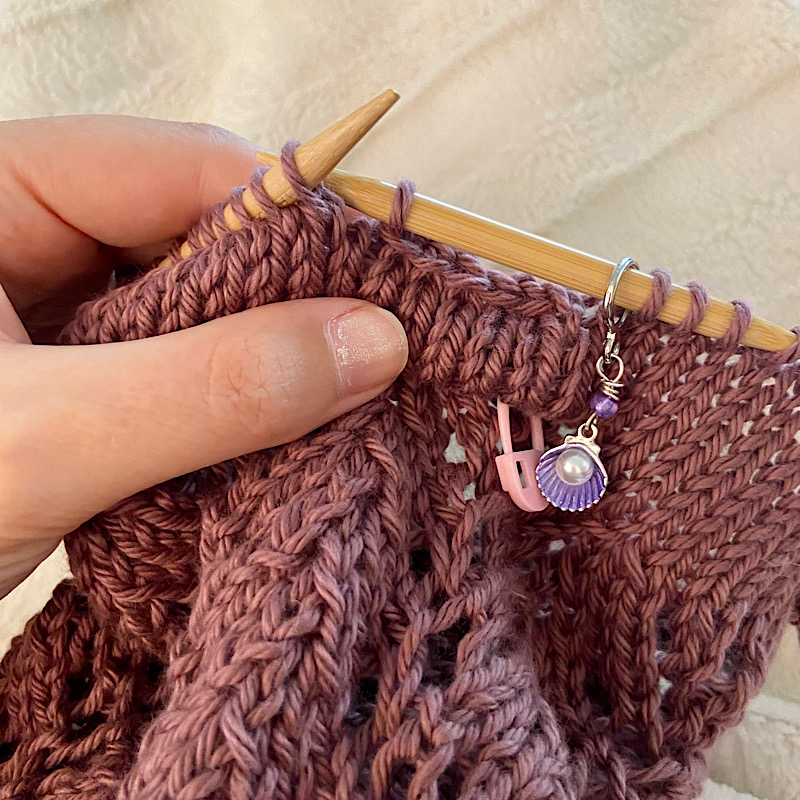
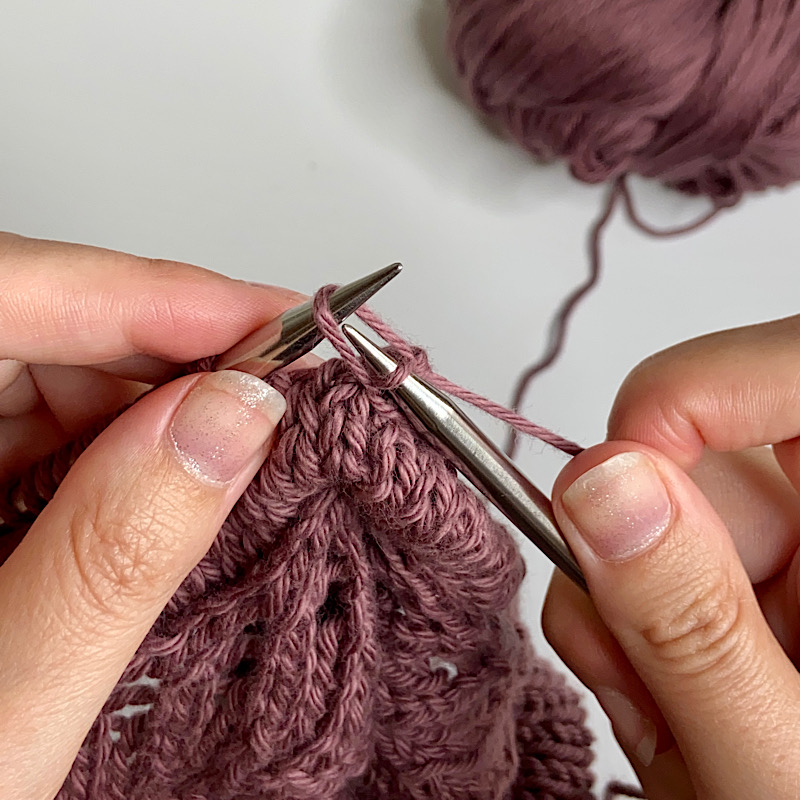
Continue to work in the binding off pattern of picking up the bottom of the edge with the left hand needle, knitting 2 together and binding off from the right hand needle until the last stitch.

Bind off the last stitch by trimming the yarn with a 6-8″ tail and pulling it through the last loop tightly.
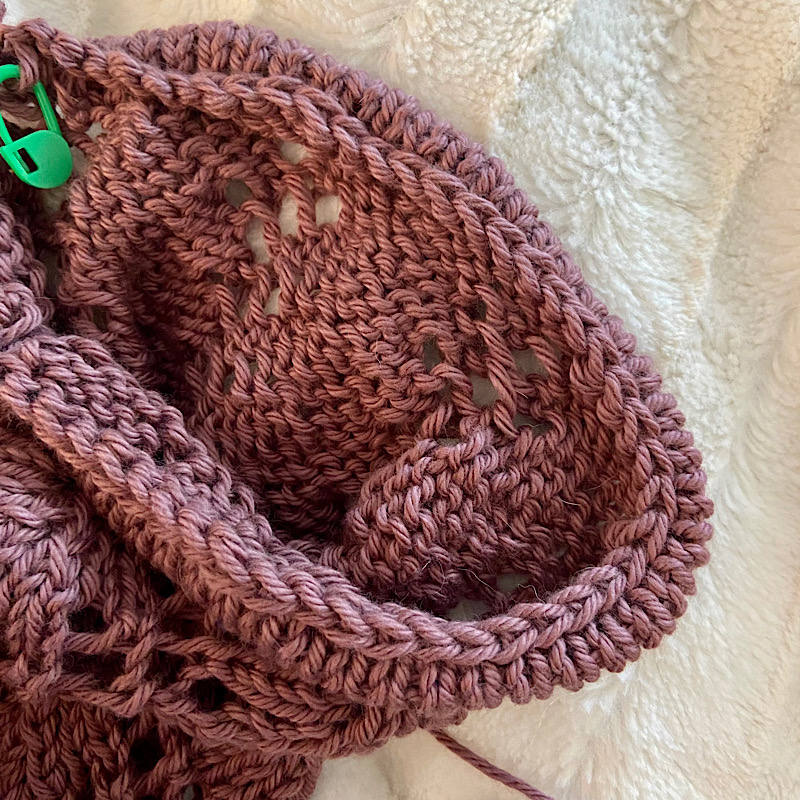
Secure and weave in end. Remove removable marker.
The above photos were shown on the cuff of the Silver Spring Duster design. Since the tutorial showcased photos for binding off in the round, below is a quick photo synopsis of how to do the same edging when knitting flat (or on the front edging of the duster).


The Silver Spring Duster is a long, earthy-chic style cardigan designed in airy lace to drape with a drop shoulder and flowy, straight sleeves. It is folksy, whimsical and elegant. Shop the knitting pattern on Ravelry or Etsy, and see more details below!
Materials
*1200 (1520, 1700) [1900, 2200] yards of worsted cotton yarn (I used Lion Brand Yarn Pima Cotton in Rose Taupe)
*US 10/6mm 29-40” circular needles
*US 10/6mm 16” circular needles
Measuring Tape
Large eye blunt needle
20+ Stitch Markers
BOR Marker
*Or size needed to obtain gauge.
Sizes
XS/S – 28-34” (38”)
M/L – 36-38” (42”)
XL/2XL – 40-50” (52”)
3XL/4XL – 52-60” (62”)
5XL/6XL – 62-68” (70”)
*Fits with bust sizes –” with 2-10 ” positive ease
(flat measurement)
This written pattern includes a schematic, lace chart, materials list, abbreviation key, stitch explanation, tips, alternatives and has a color-blind accessible version that is black and white.
Lovely by Lee is my full-time job and income. Small businesses are hard work, a lot of which is often done unpaid. So some of my links may include affiliate links. If you click the link and complete a purchase, I may receive a small commission at no cost to you!

